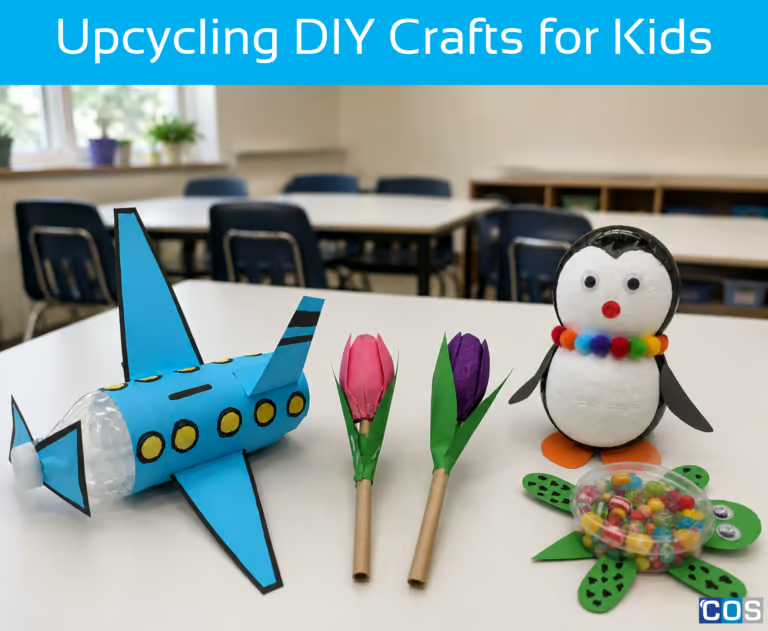
Easter is a fun and exciting holiday for kids, and what better way to celebrate the season than some DIY crafts? Hop into the Easter spirit with this simple and fun DIY project! This art and craft project is ideal for teachers, parents, and caregivers, looking for a fun activity to do with the kids for keeping them occupied and getting creative. This project is not only enjoyable and festive, but it also provides an excellent opportunity to foster teamwork, creativity, and problem-solving abilities. All you need are a few simple craft supplies and your imagination.
We’ll walk you through how to make this easy Easter DIY project with step-by-step instructions and a video attached at the bottom. So grab your craft caddy with all your supplies and get rolling!
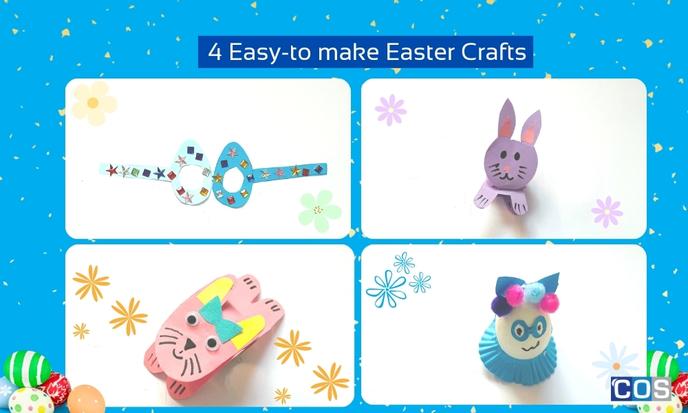
Cute Bouncing Bunny
Things you’ll need:
Instructions:
- Cut two long strips of coloured copy paper, each about 3xcm wide and 15xcm long.
- Now, neatly lay one strip over the other, folding one side over the other until you reach the end and sticking the corners with a glue stick.
- Take a piece of copy paper and draw a cute bunny face, then cut it out.
- Glue the cut-out bunny face to the last flap of your folded strips.
- Draw hands and feet on the paper and carefully cut them out.
- Glue your bunny feet to the bottom side of your folded paper and stick the hands under the bunny’s face.
- Draw eyes, nose, and whiskers on the bunny face with a marker, or you can use joggle eyes to make a 3D eye effect.
- Your bunny is now prepared to hop on your favourite treats.
Adorable Cardboard Rolling Bunny
Things you’ll need:
- Cardboard roll
- Coloured copy paper
- Joggle eyes
- Marker
- Scissors
- Glue Stick
Instructions:
- To make the bunny body, cut a 10xcm long and 5xcm wide piece of coloured copy paper.
- For making hands and feet, make a 2.5xcm cut at the end of each side from the centre.
- Draw a bunny face 4xcm wide and 6xcm long on another piece of copy paper. Make sure your bunny’s face does not extend beyond the width of the cardboard roll.
- For bunny ears, cut two smaller ears from different coloured copy paper and glue them together with a glue stick.
- Make a cute bow for the bunny’s head and place it in the centre of the ears. Draw the nose, mouth, and whiskers with a marker.
- Take joggle eyes and put them nicely on the bunny cut one.
- Place the cardboard and then take the bunny body cut-out and glue it covering the entire cardboard roll.
- Cut a small piece of paper, fold it 3x times, and stick it in front of the cardboard roll. After that, glue the bunny’s face on top of it.
- Your bunny is now ready to roll over the Easter eats.
Easter Egg Goggles
Things you’ll need:
- Coloured copy paper
- Rhinestones
- Scissors
- Glue stick
Instructions:
- Make an egg shape out of A4 coloured copy paper, 4xcm wide and 6xcm long. Leave a 3xcm wide by 8cm long strip on the corners. Repeat the procedure with the second side of the goggle.
- Now, using a glue stick, join the egg cut-outs in the centre to make a goggle shape.
- Make a circle in the middle of both eggs and cut-it out with scissors or a snap cutter.
- Decorate the egg-shaped cut-outs entirely with rhinestones or sequence. Pom-poms can also be used as decoration.
Egg Decoration
Things you’ll need:
- Polystyrene egg
- Paint and brush
- Marker
- Pom poms
- Glue stick
- Coloured copy paper
- Craft patty pans
Instructions:
- Gather your paint stash for painting the egg. To apply the paint, use a paintbrush or a sponge. You can choose any colour of your choice. Allow the paint to dry completely before applying a second coat for a truly brilliant finish.
- Once the paint has dried, draw the eyes and mouth with a maker.
- The next step is to take a coloured copy paper and draw goggles a few centimetres wider from the drawn eyes.
- Cut the goggles neatly and place them over the drawn eyes using a glue stick.
- You can use Pom poms or rhinestones to decorate the egg.
- To make an outfit, take coloured patty pans and cut the centre with scissors. Put the cut-out at the bottom, and your egg will be ready to steal the show.