

Every parent who has seen a brand-new drink bottle vanish into the school lost property bin knows the frustration. Name labels for school are one of those small investments that quietly save money, reduce stress, and spare a lot of sighing over orphaned lunchboxes. But with so many labelling options available, knowing which type works best for what items can feel more complicated than it needs to be.
Why Name Labels Matter
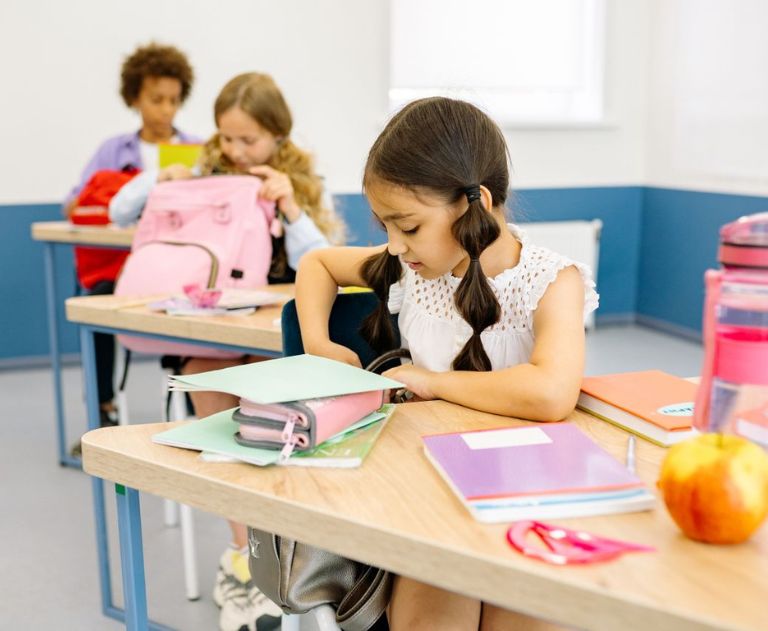
Australian primary schools can have hundreds of students, all arriving with nearly identical water bottles, lunchboxes, and navy blue jumpers. Without a name on it, lost gear stays lost. Teachers and office staff spend real time sorting through unnamed belongings, and families spend real money replacing items that have simply gone unclaimed.
Labelling everything before the first day isn’t just helpful for teachers. It also builds responsibility in children. When their name is on something, they’re more likely to look after it, retrieve it from the lost property, and come home with it at the end of the day.
The Main Types of School Name Labels
Handwritten Labels
The simplest approach is often the most practical for younger children: a permanent marker written directly on the item, or on a built-in name tag. Many school bags, pencil cases, and headphone pouches include a small write-on name panel specifically for this purpose. It costs nothing and takes seconds.
For items that go in the wash, a laundry marker on the garment’s care label is surprisingly durable and holds up well through the school year.
Printed Adhesive Labels
Printable label sheets are one of the most versatile options for families. Print a child’s name at home using standard laser or inkjet printers, then peel and stick. Waterproof or heavy-duty versions hold up on water bottles, lunchboxes, and drink containers that spend their life being washed. Smaller labels work well on pencils, rulers, and calculators.
Label Makers
A label maker is worth considering for families who want consistently neat, durable labels across a large volume of items. Compact, handheld models are the most practical for home use: they don’t require a computer or printer, take seconds to produce a label, and are easy to store in a drawer and pull out as needed.
When choosing label tape, the material matters as much as the machine. Paper tape suits stationery, books, and folders; plastic or vinyl tape is more resistant to moisture and handles daily wear better on lunchboxes, drink bottles, and items that get washed regularly. Both types peel cleanly and adhere well to most surfaces without leaving residue behind.
For families with multiple children, a label maker pays off quickly. Print each child’s name on a roll and work through the entire stationery list in one sitting.
What to Label

The short answer is everything that leaves the house. The longer answer, organised by category:
Stationery and Classroom Supplies
- Pencil cases
- Pencils, pens, markers, and coloured pencils (a label maker is ideal here)
- Rulers, scissors, and rubbers
- Calculators
- Folders, binders, and notebooks
Lunchbox and Food Items
- Lunchboxes and bento containers
- Drink bottles and thermoses
- Ice brick or cooling bag
- Fork, spoon, or utensil set
Clothing and Wearables
- School uniform items including shirts, shorts, and dresses
- Jumpers, cardigans, and sports jackets
- Hats and caps
- Sports shoes and school shoes
- Socks if your school has a specific uniform requirement
Bags and Carriers
- School bag and any attached pouches
- Library bag
- Pencil case on the outside as well as inside
- Sports bag
Technology and Accessories
- Tablets and laptop cases
- Headphones and headset pouches
- Charging cables and earbud cases
- USB drives
Application Tips
On stationery: Use a label maker or a very small adhesive label. Wrap-around labels work well on cylindrical items like pencils.
On clothing: Iron-on labels or a laundry marker on the care label are the most durable options. Adhesive labels tend to peel away after washing.
On hard surfaces: Waterproof adhesive labels or printed plastic label tape hold well on lunchboxes, bottles, and rulers. Let them adhere for 24 hours before the item gets wet for best results.
On dark surfaces: Use white label tape with black text for legibility, particularly on dark-coloured bags and cases.
On books and folders: A label on the front cover and inside the front cover doubles your chances of it being returned.
A Practical Labelling System
Rather than labelling reactively when things go missing, set aside time before school goes back and work through everything in one session. Lay out all supplies, sort them by label type needed, and batch the work:
- Use a label maker for stationery, pencils, and hard cases
- Use printable adhesive sheets for books, folders, and lunchboxes
- Use a laundry marker or iron-on labels for all clothing
- Write directly on name panels for bags, headphone pouches, and pencil cases that include one
Keep your labelling materials somewhere accessible so you can add labels to new items throughout the year without having to find them.
The best labelling system is the one that actually gets things done. Whether that’s a permanent marker and five minutes before school, a label maker session on the weekend, or a sheet of printed labels at the kitchen table, the goal is the same: your child’s name on their belongings, legibly and durably enough to survive a school year.
Everything else is just finding the method that works for your family.