

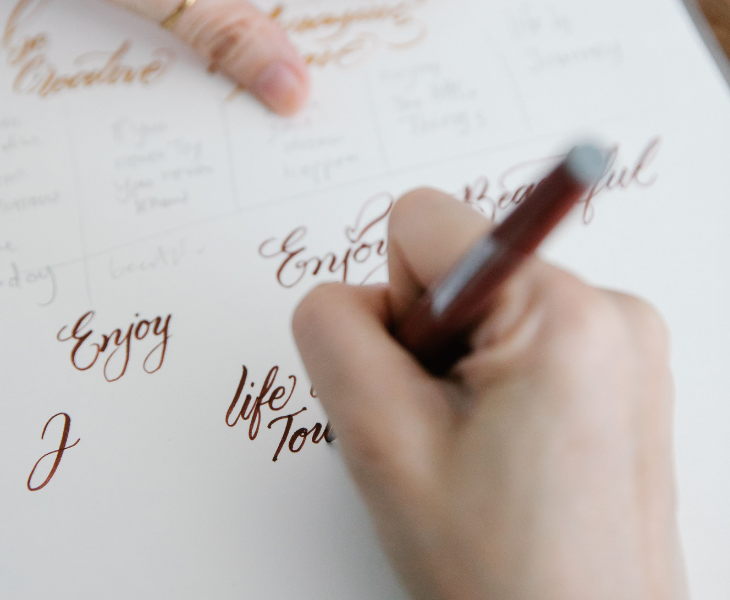
Calligraphy and hand lettering are both creative skills that display beautifully written letters. These skills are useful in many areas, such as journaling, cards, education, workshops, signage, and corporate creative activities. People also enjoy watching skilled individuals showcase their talents or looking at the finished artwork.
Despite their artistic appeal, both skills can be easily learned without formal training or expensive tools. All you need are basic supplies, such as paint pens, markers, and fineliner pens, plus the right techniques and a practice routine, which we’ll discuss in this guide.
The Difference Between Calligraphy and Hand Lettering
Many people confuse calligraphy with hand lettering, vice versa, or see both as the same. These skills are both creative for sure, but they are different.
Calligraphy is about writing letters beautifully, while hand lettering is about drawing letters artistically. With calligraphy, artists use a brush, pen, or a writing tool and focus on strokes, flow, and writing techniques. Hand lettering, on the other hand, carefully shapes and sketches letters and concentrates more on the shape, design, and composition.
Basic Calligraphy and Hand Lettering Supplies for Beginners
Regardless of whether you want to learn calligraphy or hand lettering, you can create a simple yet versatile tool kit that can be used for both skills.
- Paint markers – for bold lettering on posters, cards, papers, and suitable non-porous finishes.
- Paint pens – for bold, vibrant lettering on posters, cards, papers, and various surfaces.
- Fineliner pens – for small lettering, faux calligraphy, details, outlines, and adding decorative elements.
- Pencil and eraser – for preliminary sketches.
- Ruler and calligraphy paper – for guidelines.
- Smooth paper – for ink bleeding prevention.
- Brush pen, nib, or beginner calligraphy ink (optional) – for practicing traditional techniques.
Important note on paint pens:
Paint pens have a huge difference from traditional brush pens. The former offers more vibrancy, versatility, opacity, and durability for various finishes or surfaces. The latter, on the other hand, is best for more fluid, expressive lettering on paper. Paint pens have a more controlled and firmer tip and provide a bold and solid stroke, while brush pens have a softer tip and create thin and thick strokes.
Simple Steps to Master Calligraphy and Hand Lettering
Learn Basic Lettering Strokes
Learning from the basics is the only foundation you need to master each skill. You can start practising downstrokes, upstrokes, loops, curves, and connecting strokes. This way, you can learn how to use pressure control on every stroke as each movement requires a different mark of flow, intensity, and thickness. Paint markers typically require less pressure and provide a thick stroke with heavy pressure and a thin stroke with light pressure.
It’s also important to get used to the calligraphy practice paper as it helps with being consistent with the height, shape, spacing, and angles of the letters. The paper helps you master ascenders and descenders more effectively with consistency.
Start with a slow, repeated routine until you get comfortable before you begin exploring the more complex and decorative alphabets.
Consider Using a Visual Art Diary
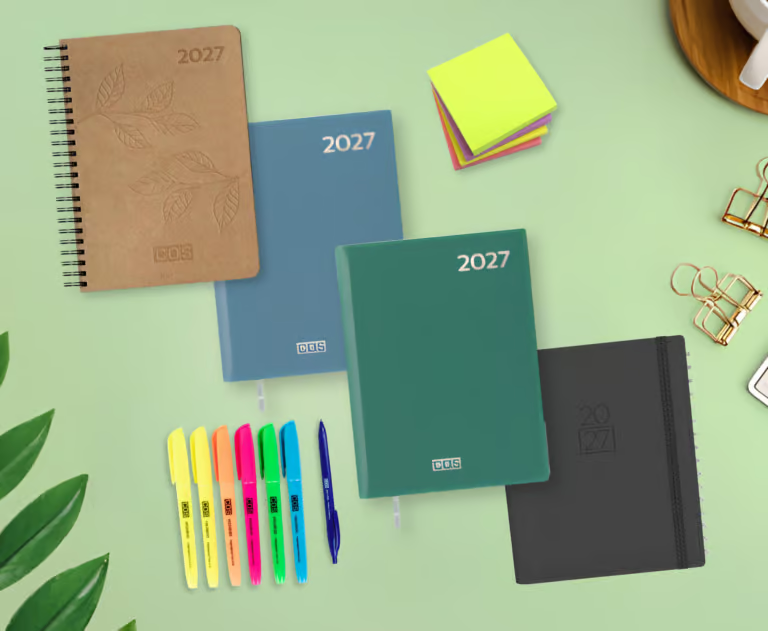
Once you’re comfortable with the calligraphy practice paper, you may want to take your practice routine to the next level with visual art diaries. This book works like a personal journal where you are free to be creative and is a low-pressure space to experiment with styles and track progress.
You can assign pages with lettering styles, alphabet practice, colour combinations, pen tests and mark-making exercises, and quotes and short phrases. Also, it’s crucial to add dates to every exercise you perform to see how you progress. Make the diary a tracker of your improvement rather than a place of finished artwork.
Challenge Yourself with Making Real-World Creative Projects
It’s time to level up your game if you’re already confident in your skills. You can set your visual art diary aside and use sketch, drawing, specialty calligraphy, or art paper, smooth cardstock, canvas, or fabric/textiles instead. Project ideas you can try are:
- Greeting cards
- Event signage
- Inspirational posters
- Corporate team-building lettering activities
- Branded quotes or creative office displays
- Students can try subject heading or classroom vocabulary projects.
Never forget to use fineliner pens for decorative borders and fine details and paint markers for bold letters.
At this stage, you’re simply using the same fundamental skills. The only difference is that you’re moving from a personal art diary to a workplace or educational project.
Easy 15-Minute Letter Writing and Drawing Practice Routine
Start with this simple 15-minute routine to help you get used to the skills. Short, consistent exercises help you master the foundations of calligraphy and hand lettering more effectively than occasional marathon sessions.
- Do warm-up strokes for 3 minutes.
- Write individual letters for 4 minutes.
- Focus on words and spacing for 4 minutes.
- Experiment letter writing and drawing in your visual art diary for 4 minutes.
Start with the Basics
Calligraphy and hand lettering are learnable skills and don’t require advanced tools. A few basic, accessible supplies, such as fineliner and paint pens, are enough to help you get started. Begin your letter writing and drawing journey today by choosing your favourite short phrase.