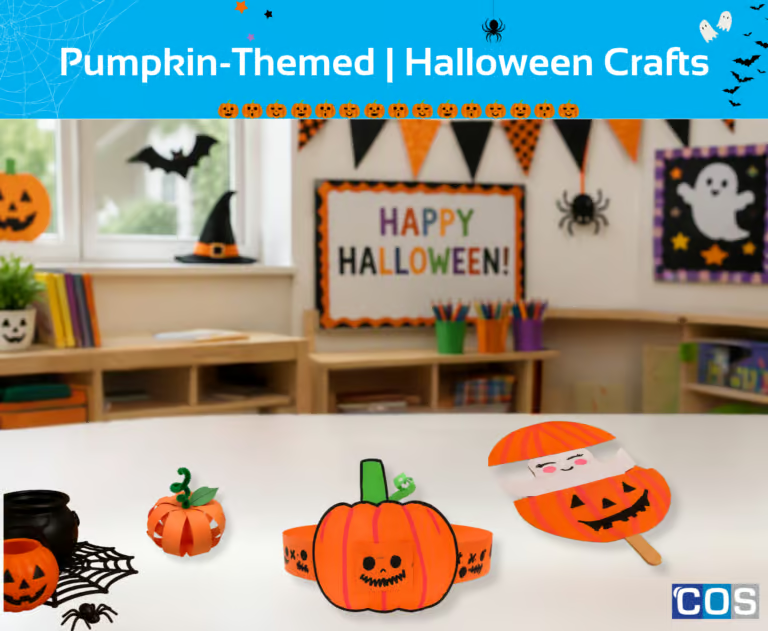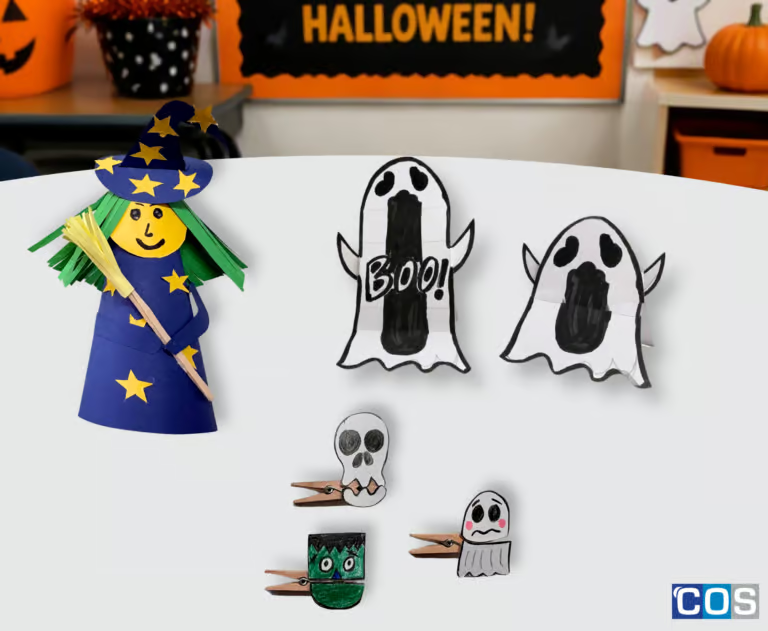


Halloween is the perfect excuse to get creative, have a little fun and bring some seasonal excitement into the classroom or home. From spooky decorations to sweet treats, there are plenty of simple ways to make the day feel special and a hands-on craft activity is always a great place to start.
If you’re looking for an easy Halloween activity that keeps children engaged while encouraging creativity, colouring, cutting and making, our printable Halloween worksheets are ready to help. Designed to be simple, fun and easy to use, these activities are ideal for classrooms, early learning spaces, school holiday programs or a creative afternoon at home.
Whether you’re planning a Halloween celebration, looking for a quick classroom activity or simply want to add a festive touch to the day, these printable projects make it easy to get involved without needing complicated materials or preparation.
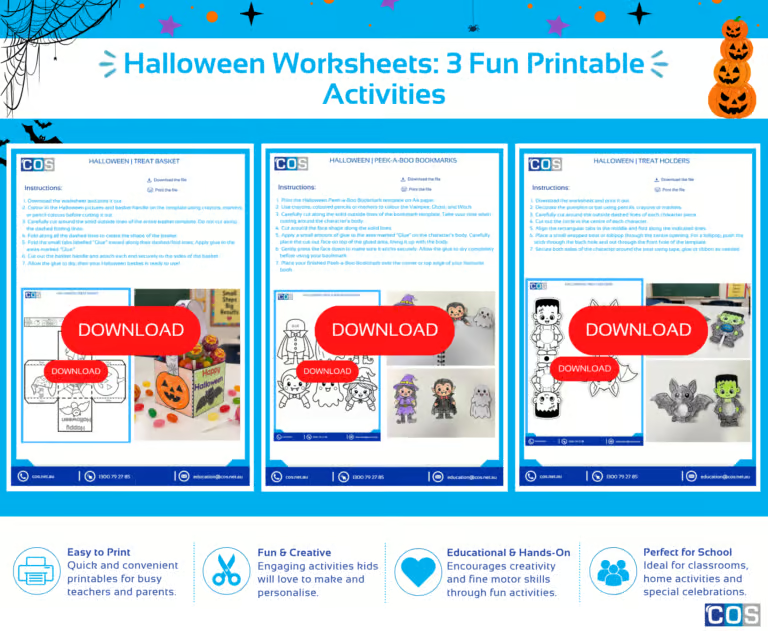
Choose from 3 fun Halloween worksheets: create a Halloween Treat Basket, make a playful Peek-a-Boo Bookmark, or put together a festive Treat Holder for a small wrapped treat or lollipop.
Grab your pencils, crayons, markers and scissors, download your free favourite worksheet and get ready for some frightfully fun crafting.
1. Halloween | Treat Basket
Materials Required:
- Printed Halloween basket template
- Crayons, markers or coloured pencils for colouring
- Scissors
- Glue stick or craft glue for assembling the basket
- Lollies or treats
Step-by-Step Instructions:
Step 1: Download and print the worksheet
Print the Halloween basket template on a suitable sheet of paper or light cardstock for a sturdier basket.
Step 2: Colour your Halloween basket
Before cutting, colour in the Halloween pictures and the basket handle using crayons, markers, or coloured pencils. Add your own colours and creative details to make your basket unique!
Step 3: Carefully cut out the basket template
Using child-safe scissors, carefully cut along the solid outside lines of the entire basket template. Take care not to cut along any of the dashed folding lines, as these are needed to assemble the basket.
Step 4: Fold along the dashed lines
Gently fold all the sections along the dashed lines. Make sure each fold is neat and clearly defined, as this will help the basket come together correctly.
Step 5: Fold the glue tabs inward
Fold the small tabs labelled “Glue” inward along their dashed fold lines. These tabs will be used to join the different sides of the basket together.
Step 6: Apply glue to the marked areas
Carefully apply a small amount of glue to each area labelled “Glue.” Avoid using too much glue, as this can make the paper wet or difficult to handle.
Step 7: Assemble the basket
Bring the folded panels together and press the glued tabs firmly against the corresponding sides. Hold each section in place for a few seconds to help the glue stick. Continue until all the panels are securely attached and the basket has formed its shape.
Step 8: Attach the basket handle
Carefully cut out the basket handle along the solid lines. Attach each end of the handle to the designated sides of the basket using glue. Hold the ends in place until they are secure.
Step 9: Let it dry and decorate
Allow the glue to dry completely before picking up the basket. Once dry, your Halloween basket is ready to fill with treats, small toys, or other Halloween goodies. 🎃👻


2. Halloween | Peek-a-Boo Bookmarks
Materials Required:
- Printed Halloween | Peek-a-Boo template
- Crayons, markers or coloured pencils
- Scissors
- Glue stick or craft glue
Step-by-Step Instructions:
Step 1: Download and print the worksheet
Print the Halloween Peek-a-Boo Bookmark template on A4 paper or suitable cardstock for a sturdier bookmark.
Step 2: Colour your Halloween character
Use crayons, coloured pencils or markers to colour the Vampire, Ghost and Witch.
Step 3: Cut around the body
Carefully cut along the solid outside lines of the bookmark template. Take your time when cutting around the character’s body.
Step 4: Cut out the Face
Cut around the face shape along the solid lines. Be gentle when cutting around smaller or detailed sections.
Step 5: Create the peek-a-boo section
Apply a small amount of glue to the area marked “Glue” on the character’s body. Carefully place the cut-out face on top of the glued area, lining it up with the body.
Step 6: Press and let it dry
Gently press the face down to make sure it sticks securely. Allow the glue to dry completely before using your bookmark.
Step 7: Use your bookmark!
Place your finished Peek-a-Boo Bookmark over the corner or top edge of your favourite book. Enjoy reading with your spooky Halloween companion! 🎃👻🧙♀️


3. Halloween | Treat Holders
Materials Required:
- Printed Halloween | Treat Holder Template
- Crayons, markers or coloured pencils
- Scissors
- Glue stick or craft glue
- Lollies or treats
Step-by-Step Instructions:
Step 1: Download and print the worksheet
Print the Halloween | Treat Holder template on A4 paper or suitable cardstock for a sturdier bookmark.
Step 2: Colour in your design
Decorate the pumpkin or bat using pencils, crayons or markers.
Step 3: Cut out both pieces
Carefully cut around the outside dashed lines of each character piece.
Step 4: Cut out the circles
Carefully cut out the dashed circle in the centre of each character. Ask an adult for help if needed.
Step 5: Join the two pieces together
Align the rectangular tabs in the middle and fold along the indicated lines.
Step 6: Fold into shape
Gently fold the joined pieces so the two character sides come together, with the pictures facing outwards.
Step 7: Add your treat
Place a small wrapped treat through the centre openings. Push the lollipop stick through the back hole and out the front hole of the template.
Step 8: Secure your treat holder
Secure both sides of the character around the treat using tape, glue or ribbon as needed.